The First Mile
Upon successful deployment, Sible enters the operational readiness phase. This guide outlines the critical steps required to transition from a default installation to a secured, production-ready environment.
Security First: Administrative Hardening
The initial deployment of Sible utilizes a default administrative credential set.
- Initial Login: Authenticate with the default credentials:
- Username:
admin - Password:
admin
- Username:
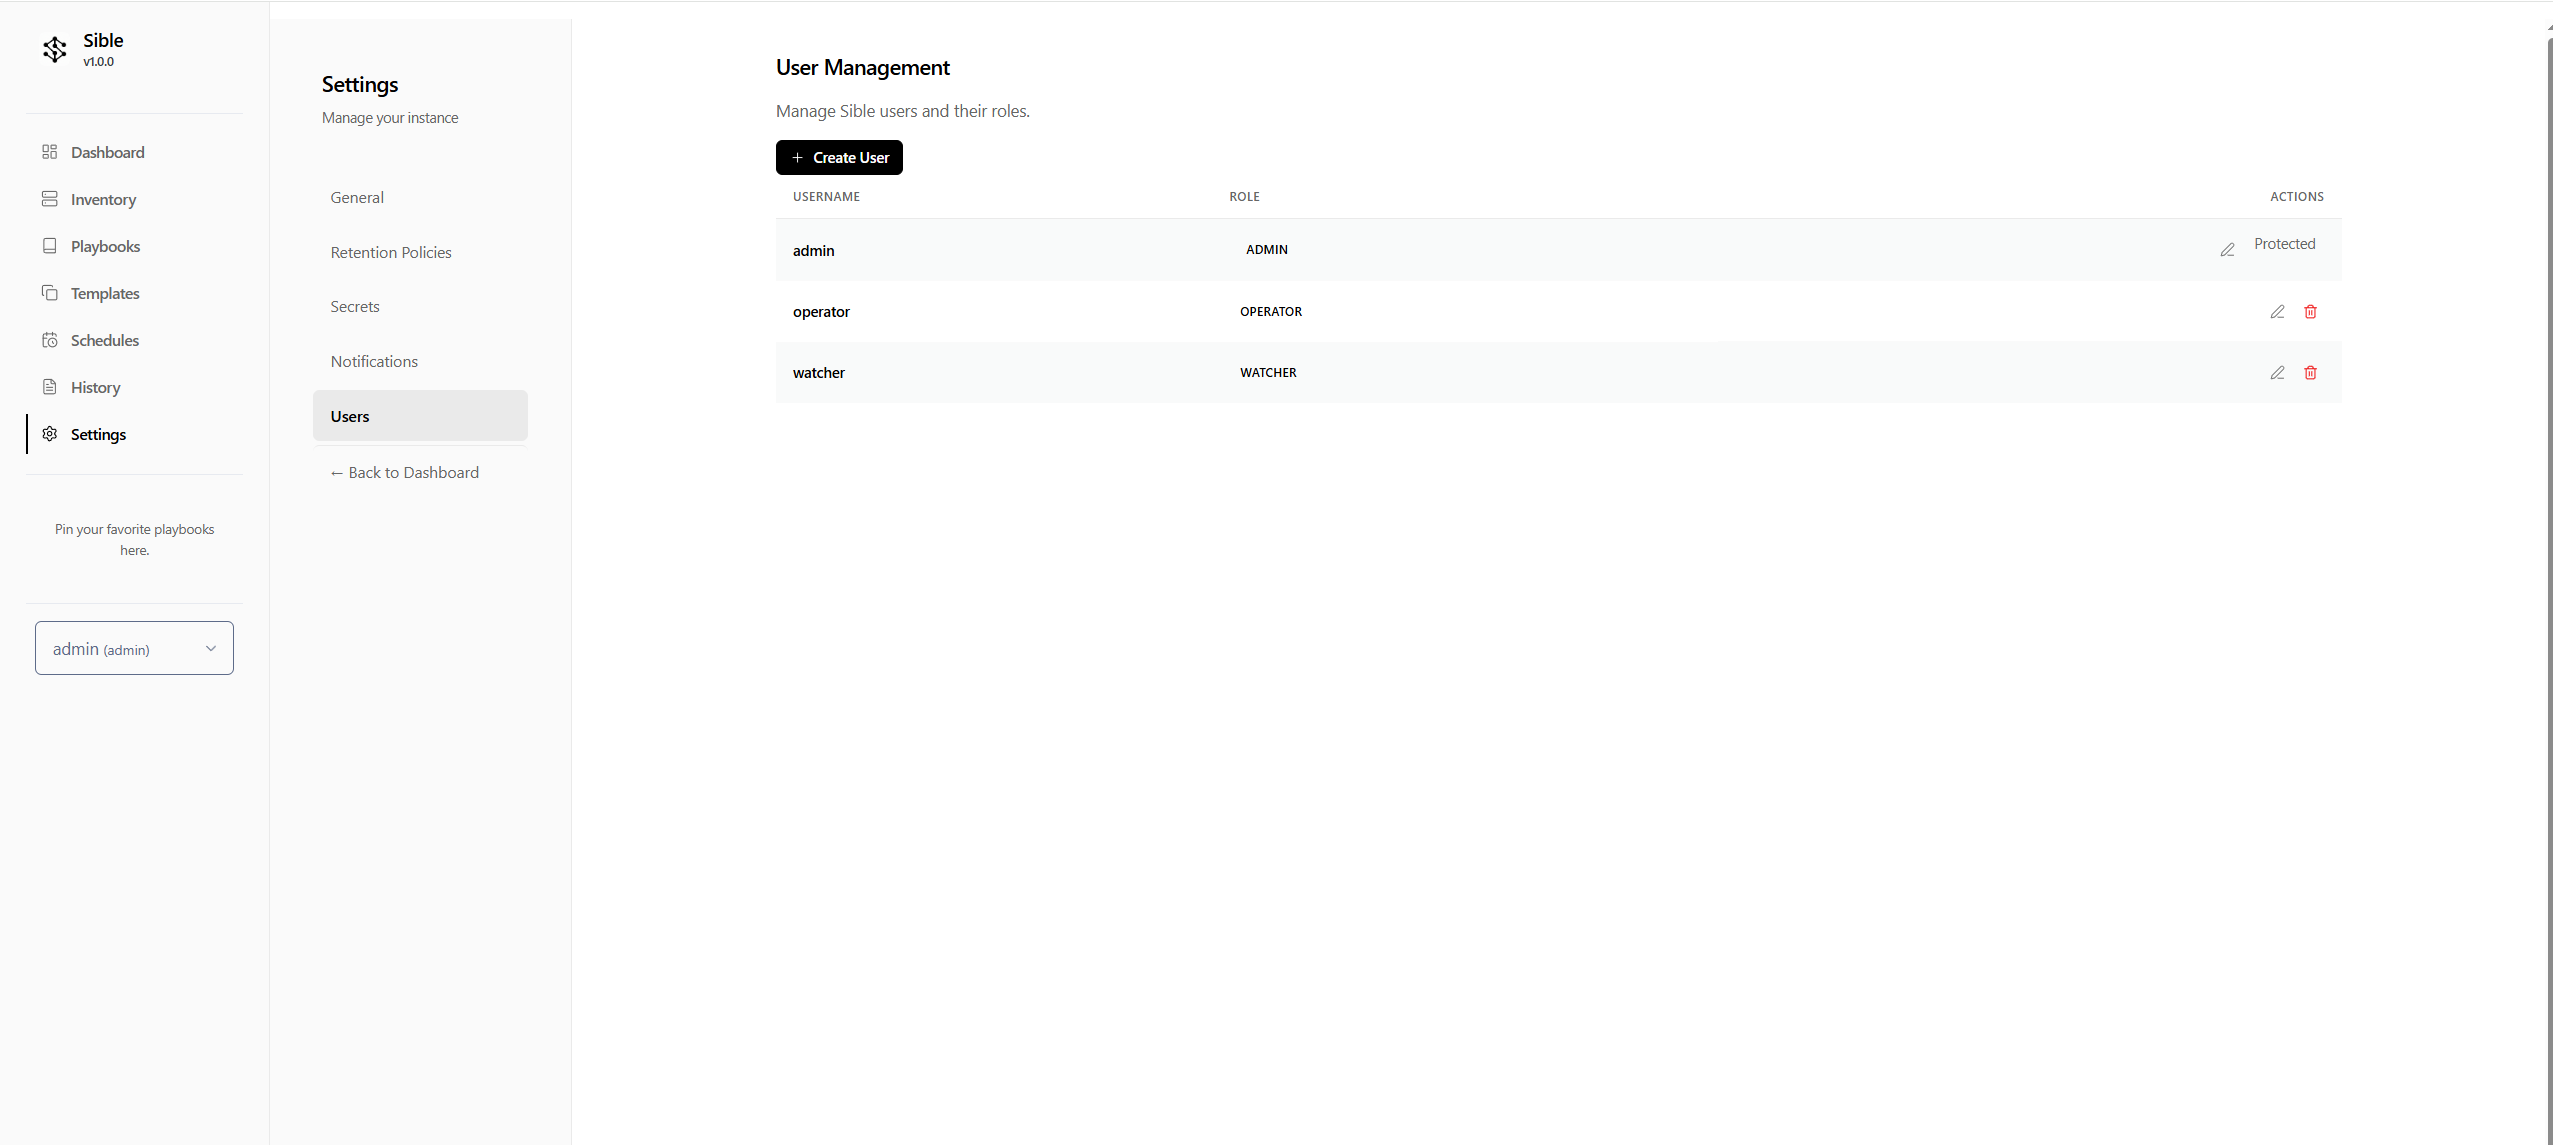
- Rotate Credentials: Immediate rotation is the highest priority operational task.
- Navigate to the Settings > Users section of the dashboard.
- Locate the default
adminuser. - Select Edit and update the password to a high-entropy value.
- Verify: Re-authenticate using the new credentials to verify the update.
Identity: Personalization and Environment
Sible supports dynamic identity customization to reflect organizational branding and operational preferences.
Logo Customization
Replace the default Sible logo with your organization's identifier:
- Go to Settings > General.
- Upload a PNG or SVG asset to the Application Logo field.
- Save changes to propagate the asset across the dashboard and email notifications.
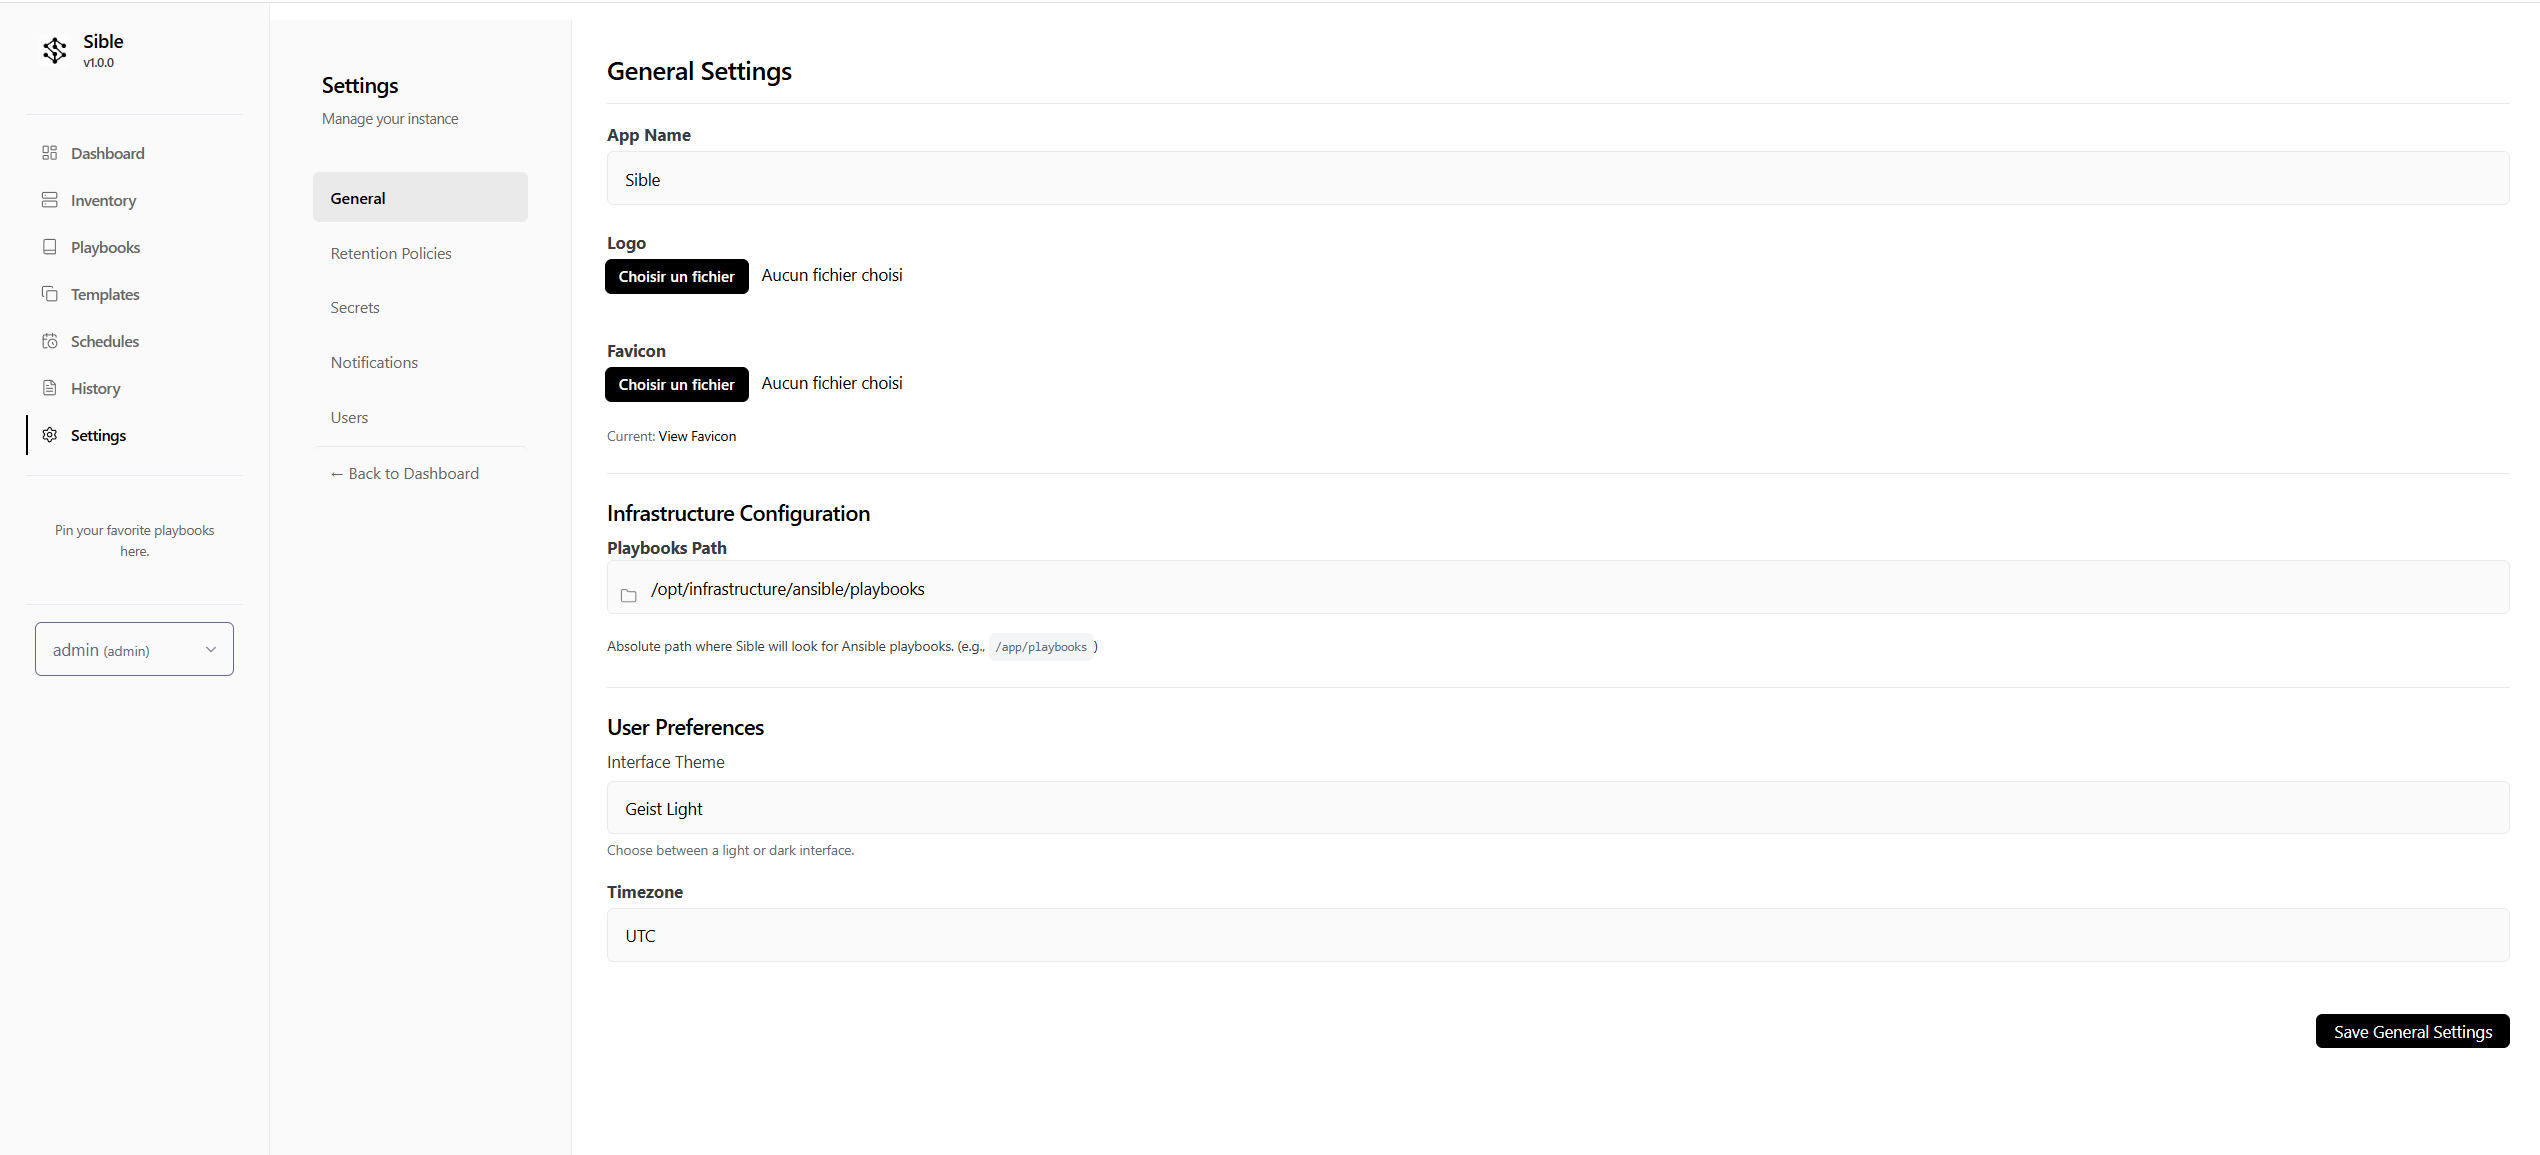
Theme Selection
Toggle between the two curated visual modes based on your environment:
- Geist Light: Optimized for high-clarity daylight operations.
- Catppuccin Mocha: A low-eye-strain dark mode designed for NOC environments and extended monitoring.
Connectivity: Target Infrastructure Onboarding
Sible orchestrates tasks over SSH. Establishing trust between the Sible controller and your target nodes is essential.
- Define your Credentials:
- Navigate to Settings > Environments.
- Click Add Variable to store your SSH Private Key. Name it something descriptive (e.g.,
prod_vps_key). - Paste your private key content (including the
BEGINandENDheaders). Check Encrypt Value (implied for sensitive keys).
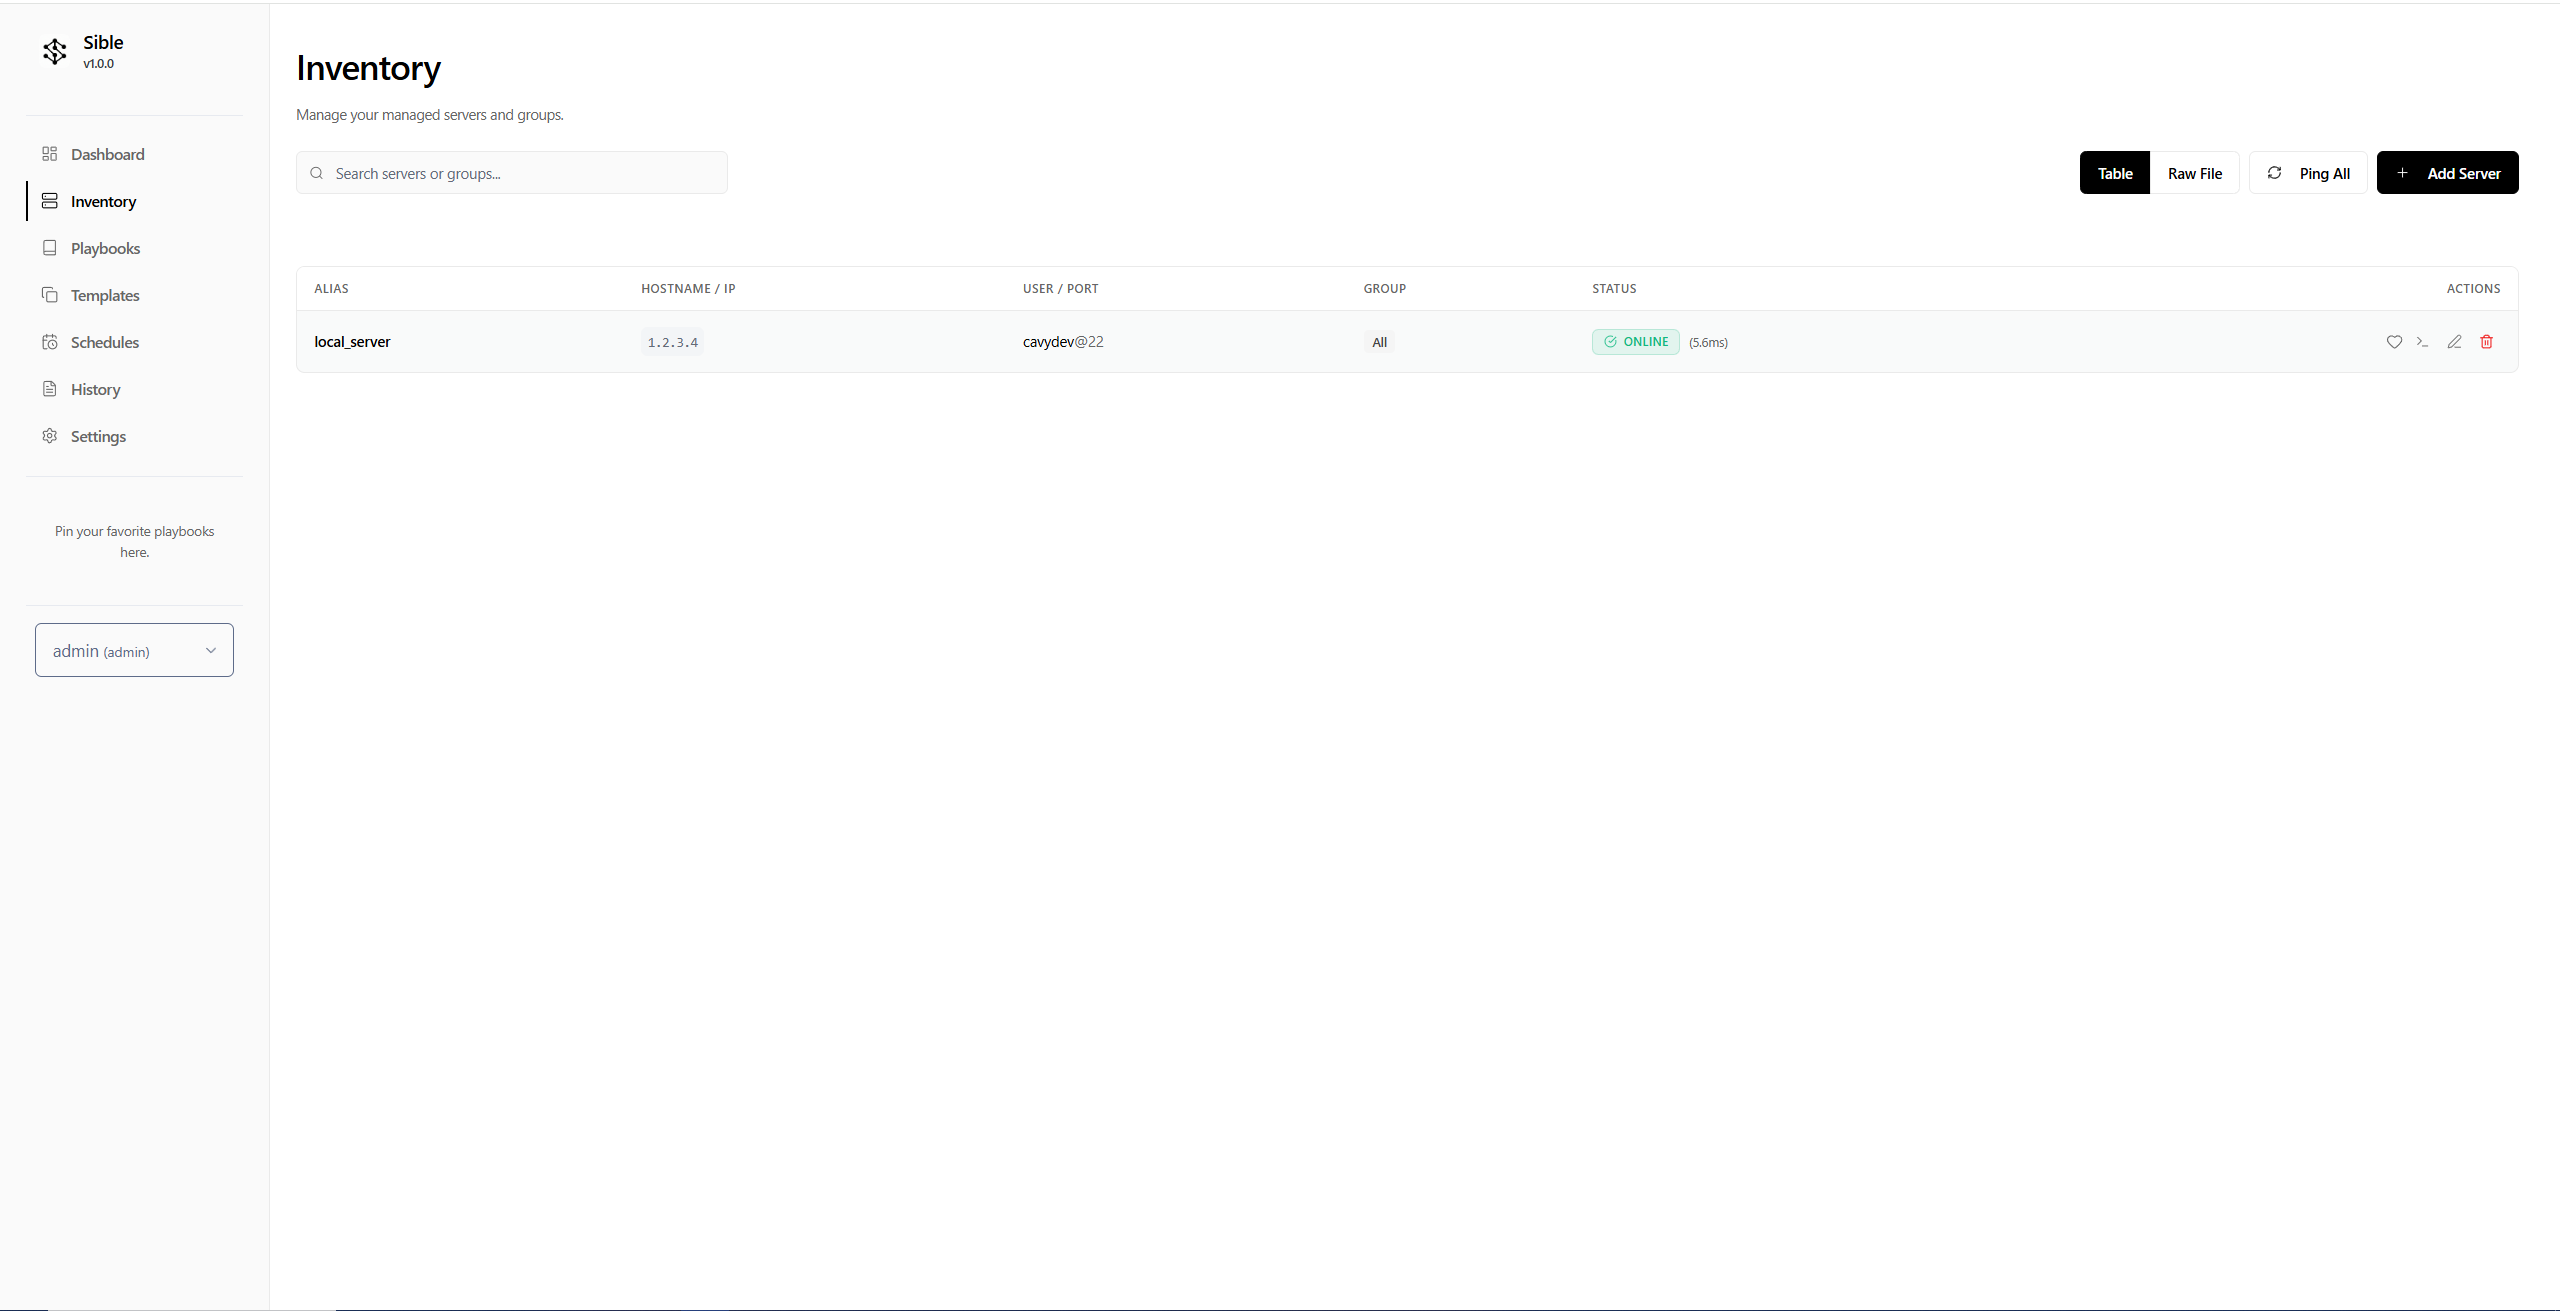
- Add your Host:
- Navigate to the Inventory page.
- Select Add Server and enter the hostname or IP address of your remote target.
- Configure the SSH Port (default: 22) and the Remote User.
- In the SSH Key Secret dropdown, select the secret you created in step 1.
- Establish Trust:
* Ensure the matching **Public SSH key** is present in the target's `~/.ssh/authorized_keys` file for the remote user.
- Verify:
- Execute a Ping Check from the UI to verify connectivity.
The First Run: Infrastructure Verification
With connectivity established, execute the 'Welcome' playbook to verify the end-to-end orchestration lifecycle.
- Select the Welcome playbook from the dashboard.
- Define the target host or group in the Target Picker.
- Execute the playbook.
- Monitor the Real-time Log Stream to verify successful task completion on the remote node.
Completion of these steps signifies that Sible is correctly integrated with your infrastructure and ready for advanced automation.